What a fun project this was for me! I was able to combine two of my favorite things to do: 1) 2nd hand shopping, 2) making something Crazy Creative out of my find! I find such pleasure in buying something for $1.00 and turning it into to something that looks like I dropped some serious dough. This Crazy Cute Chalkboard was just the ticket to a
fun and fabulous few hours spent being creative!
I have always wanted a chalkboard for my kitchen so I can love notes to my family, or list things I need to purchase from the grocery store. BUT, I wanted a chalkboard that matched my decor, and I knew I was not going to be able to purchase what I wanted, so it was off to research a way to create my own, and that is when I ran into KRYLON, one of my favorite crafting products. They have such a VAST array of products to
create almost anything for your house and home!
Here is a link to some of the fun creative paints Krylon sells!
So to make this cute project, you will need:
- A 2nd hand store picture that has a framed 'cardboard' picture - not just a "photo" as the image
- Krylon Chalkboard spray paint
- Krylon Make it Stone textured paint
- Stickers
- Jute string
- Chalk
- Hot Glue Gun and sticks
- Aleen's Tacky Glue
- Wired Ribbon
- Newspaper
- small Brads (small nails) and hammer
First thing to do, find a 2nd hand shop in your city, I went to our cities Rescue Mission. I looked through all of the photos and found this "STUNNING" (I am really just joking) picture for $1.00 : )! AND it perfectly suited my needs. It is very important that the picture portion of the picture is not just paper but a picture on cardboard.
You need a strong surface to use your Chalkboard spray.
Secondly, Purchase your Krylon products, your wired ribbon, jute, chalk, stickers,and glue if you do not have the products on hand. The Krylon "Stone it" product is so cool and does come in different colors. I LOVED the texture it added to the project! I found all of my products at Michael's, and I usually use a 'printable' coupon from the computer that gives me a discount on all items including sale items. Just google "printable Michael's coupons for July 2011"- or whatever month you are doing your project, and you can find a wealth of coupons to print out!
I took the picture and glass out of the frame. I used a dry cloth to wipe off the cardboard picture portion, and used a wood cleaner to clean the frame. Make sure you completely remove any of the cleaning product from the wood before you start using your spray paints.
Lay newspaper on the floor, and make sure to cover a wide space as you don't wish to get spray on your floor! (my husband let me know I had not quite covered enough surface- YIKES!) Using your chalkboard paint, and following the instructions, cover your cardboard picture. Your cardboard will definitely need the 2 coats of the paint that the can suggests. Just follow directions on the can, to the "T" and you will be A-OK!
With your frame, again read the direction on the "Stone It" can and follow explicitly. With the correct usage, you will end up with a fabulous finish to the frame! You will need several coats of the product to completely cover the frame.
Again, the texture that the Stone It spray adds to the frame is just stunning!
Allow enough drying time for both the 'chalkboard' picture and the frame. Gently put your chalkboard piece back into the frame, and then using brads and a hammer, tap the brads into the frame and down on the back of the picture to hold the picture in place. I used 1 brad for top and bottom and 2 brads on the side.
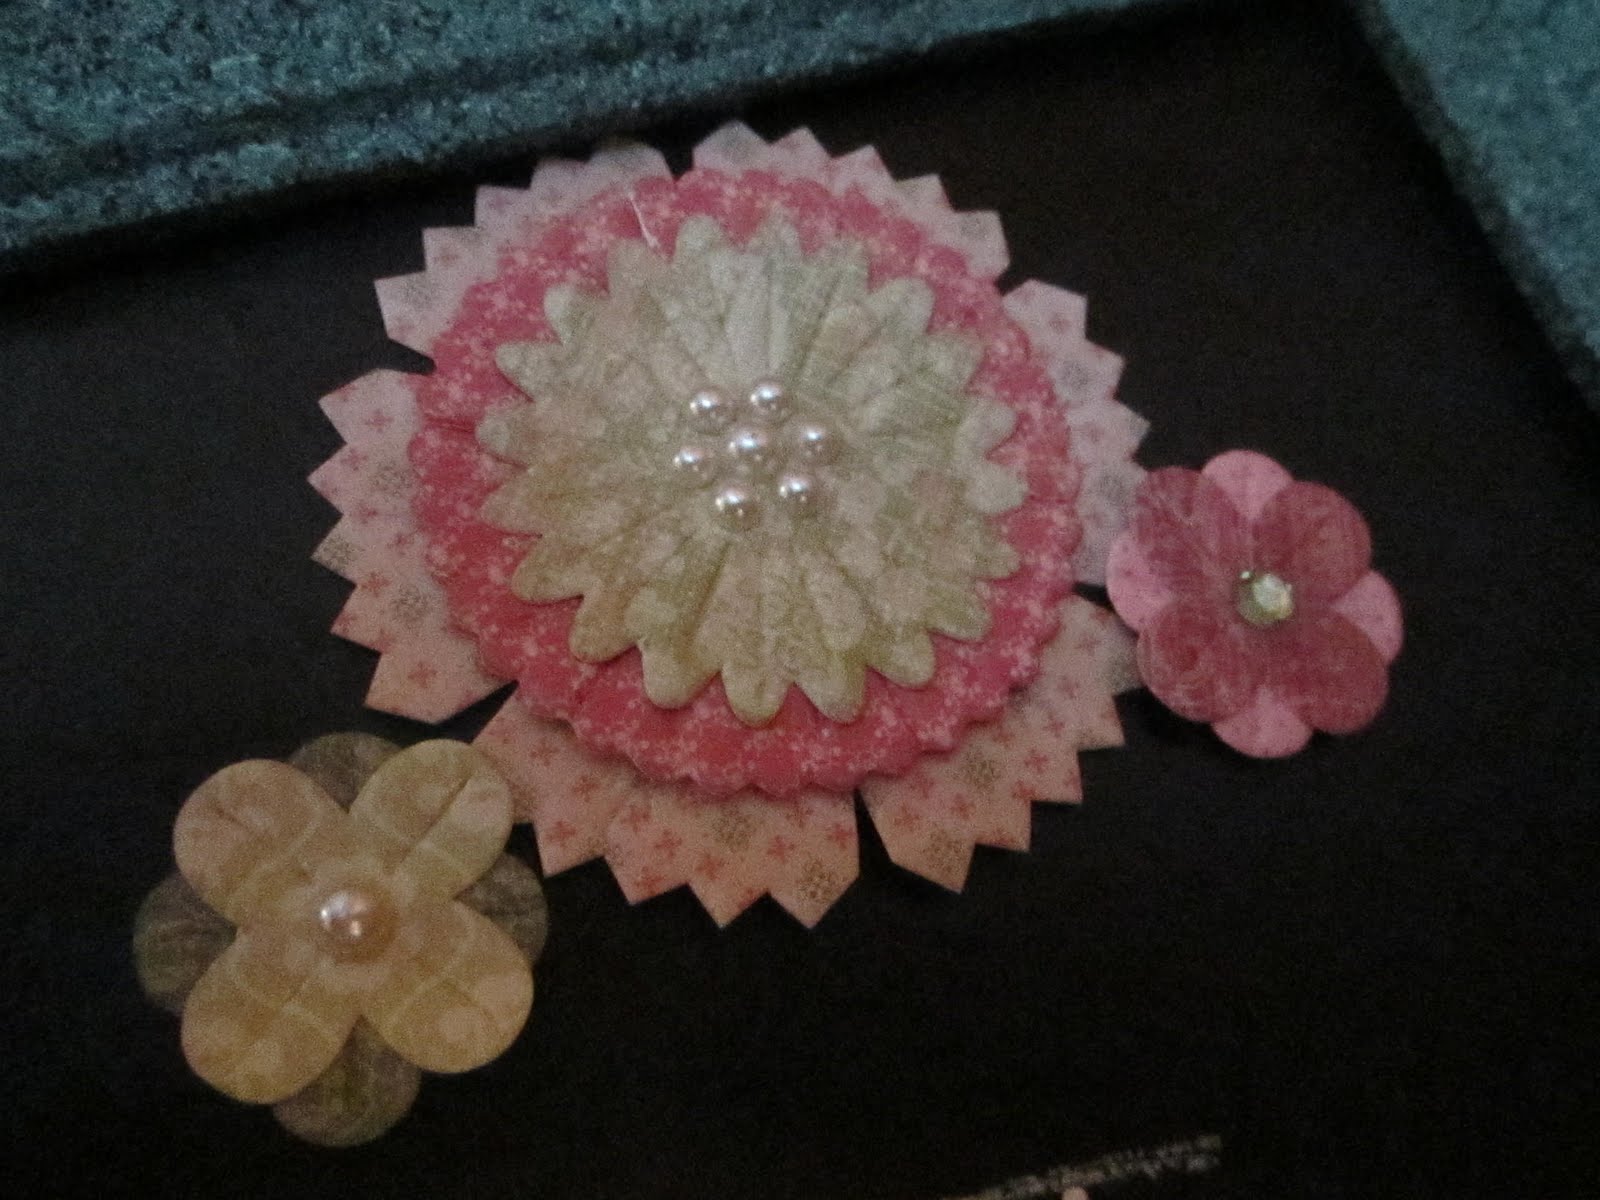
I am not one to do the 'plain' and 'simple', SO, I did add dimensional stickers with pearls and stones on the chalkboard, at the top of the chalkboard. The colors of the stickers matched my kitchen decor. I used Aleen's Tacky glue to apply the flowers so they would STAY in place.
Next, I cut a very long piece of jute string, and tied a bow at then end which I then hot glued down on the corner of the frame. I then tied the chalk to the other piece of string. To hold the chalk in place, I added a dab of hot glue and then tied a knot, and I hot glued one more flower sticker over the bow on the frame to create a nice little decorative touch to the bottom quarter of the frame.


Using my wired ribbon, I cut the ribbon the length that I need to properly hang my chalkboard. Then I cut two more pieces which were the same length. Holding all three strands together, I tied a bow in the middle of the strands with would serve as the decorative top part of my hanger. The wonderful thing about wired ribbon is, that once you have your bow the way you want it, you can poof it out and bend and shape it to the perfect design. I then pulled the hanging portions of the bow tight and tied a knot in the bottom of each side. Turning my frame over I hot glued the knots onto the back of the picture, making sure my bow was centered at the top. I held the knot in place for a moment so that it would stay in place. Once the glue was dry, I turned the chalkboard over and squealed with delight! I LOVED LOVED LOVED how CRAZY CUTE my chalkboard had turned out. I nailed a brad where I wanted to hang it.... and PRESTO.... I now had my very own chalkboard to write whatever I wished.


The most expensive thing you will purchase with this project is your paints, but let me tell you I have PLENTY left, so some of my 'besties' are going to get some gifts! ; ) After all who would not want this adorable chalkboard hanging for all to see, and to help you remain organized.
This was a very easy project, a very quick project, and a project that anyone can do. I had so much fun, I am going to make another one for my daughter's bedroom! NOW, where are my car keys so I can run to the second hand store! : )
Loving this quick easy project immensely. I hope you will want to design your own masterpiece, which can be used in ANY room in your house. Have fun and go crazy creative!
Living, Laughing, and Loving Crazy Creativity,
Patti